


Rock gardens can be amazing options for challenging spaces in your landscape, whether your yard has poor soil, narrow sections, steep terraces, deep shade or other concerns. You can even design a rock garden anywhere just to enjoy their elegant lines, varied texture and easy care. But how do you put in a rock garden?
What Is a Rock Garden?
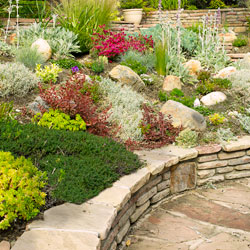
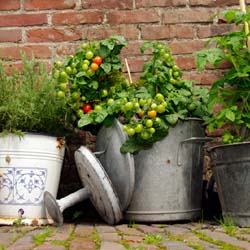
A rock garden is much more than just a pile of rocks, but of course rocks are the key component of this type of landscaping. Using different colors, shapes and textures from gravel and river rocks to flagstones, pavers and boulders will add dimension and variety to any rock garden. These unique gardens also often include rock-loving plants, a water feature or a design to mimic dry water, unexpected blooms and interesting accessories. Sizes can also vary, from simple containers or corner accents to a full landscaping bed or even an entire yard. While rocks may be a key feature of a rock garden, this type of garden can truly be anything you like!
Designing a Rock Garden
Rock gardens can be very flexible and you can create any type of rock garden you envision, but following some basic steps will give your garden a cohesive, amazing design you will love for years.
- Choose the Location
In many cases, your yard will choose the location for your rock garden based on where you may have difficulty growing other plants or flowers, or where sunlight levels aren’t ideal for vigorous plants. Don’t be afraid to choose any location you’d like to see interesting rocks, however, including planning a rock garden around a pergola, gazebo or meditation space such as a favorite bench or simple pond. - Lay Out the Garden Shape
When planning a rock garden, use a hose, planter stakes or flexible edging to outline the garden space. This will help you visualize where to put the primary rocks and plants, and you can easily adjust your outline to find the perfect shape for your rock garden. You can consider natural curves and flowing lines, or you might prefer a more geometric shape for a visual pop in your landscape. - Clear the Garden Space
If the area for your new rock garden isn’t already bare, you will need to clear out existing plants and grass to make way for your new design. Opt for sharp tools designed for cutting sod and digging up root systems to be sure you are able to clear plants effectively. Putting down a layer of weed barrier fabric is a good idea to keep growth from recurring so your rock garden remains crisp and clean, reducing the need to weed. - Install Rocks
Take your time installing different rocks in your garden, starting with the largest boulders or heavier rocks and carefully positioning them just where you want to see them, checking from different angles to be sure they offer the most pleasing view. You can even create patterns with rocks, such as using different rock shapes or colors to create a spiral or labyrinth, initials or fun features such as flowers, waves or complete scenes. Think vertically as well, stacking rocks to create a cairn or arch, or opt for fun mimicry such as using different rock sizes and colors to create a dry “creek” bed in your rock garden. - Add Plants
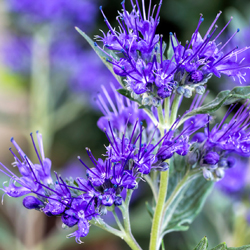
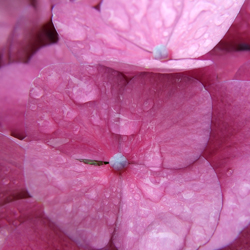
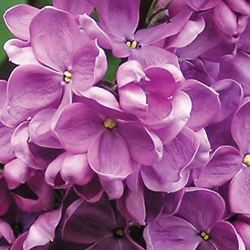
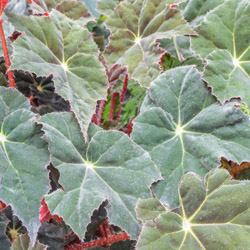
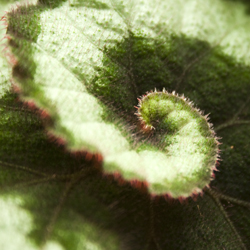
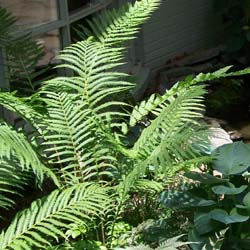
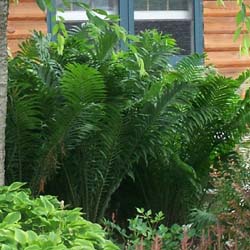
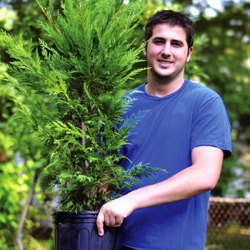
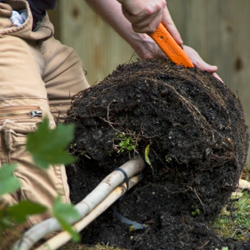
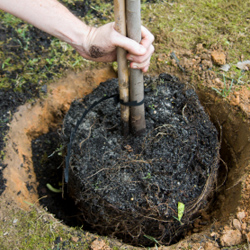
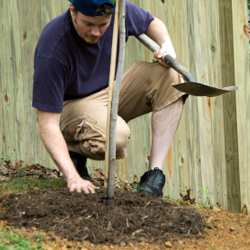
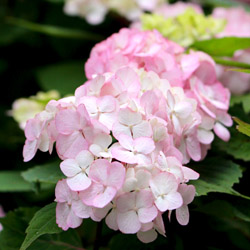
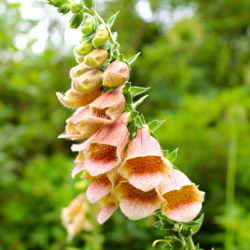
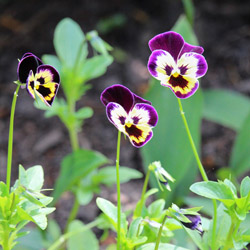
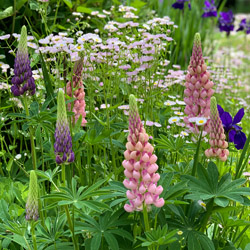
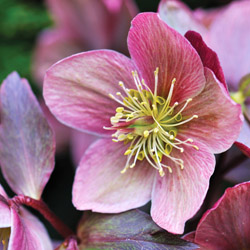
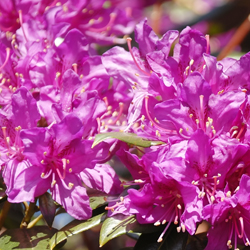
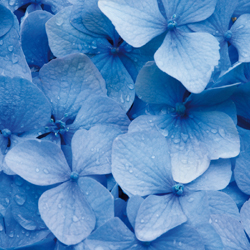
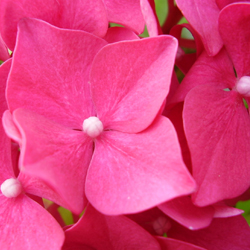
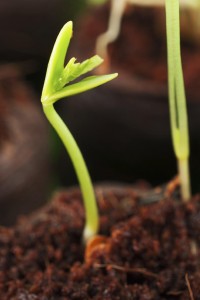
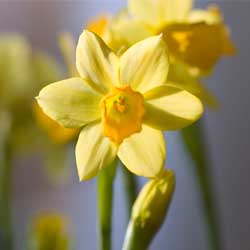
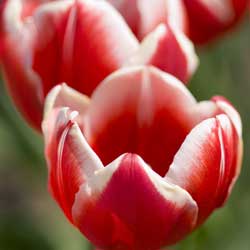
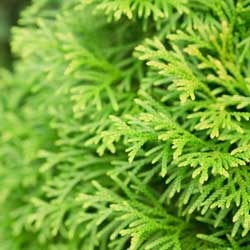
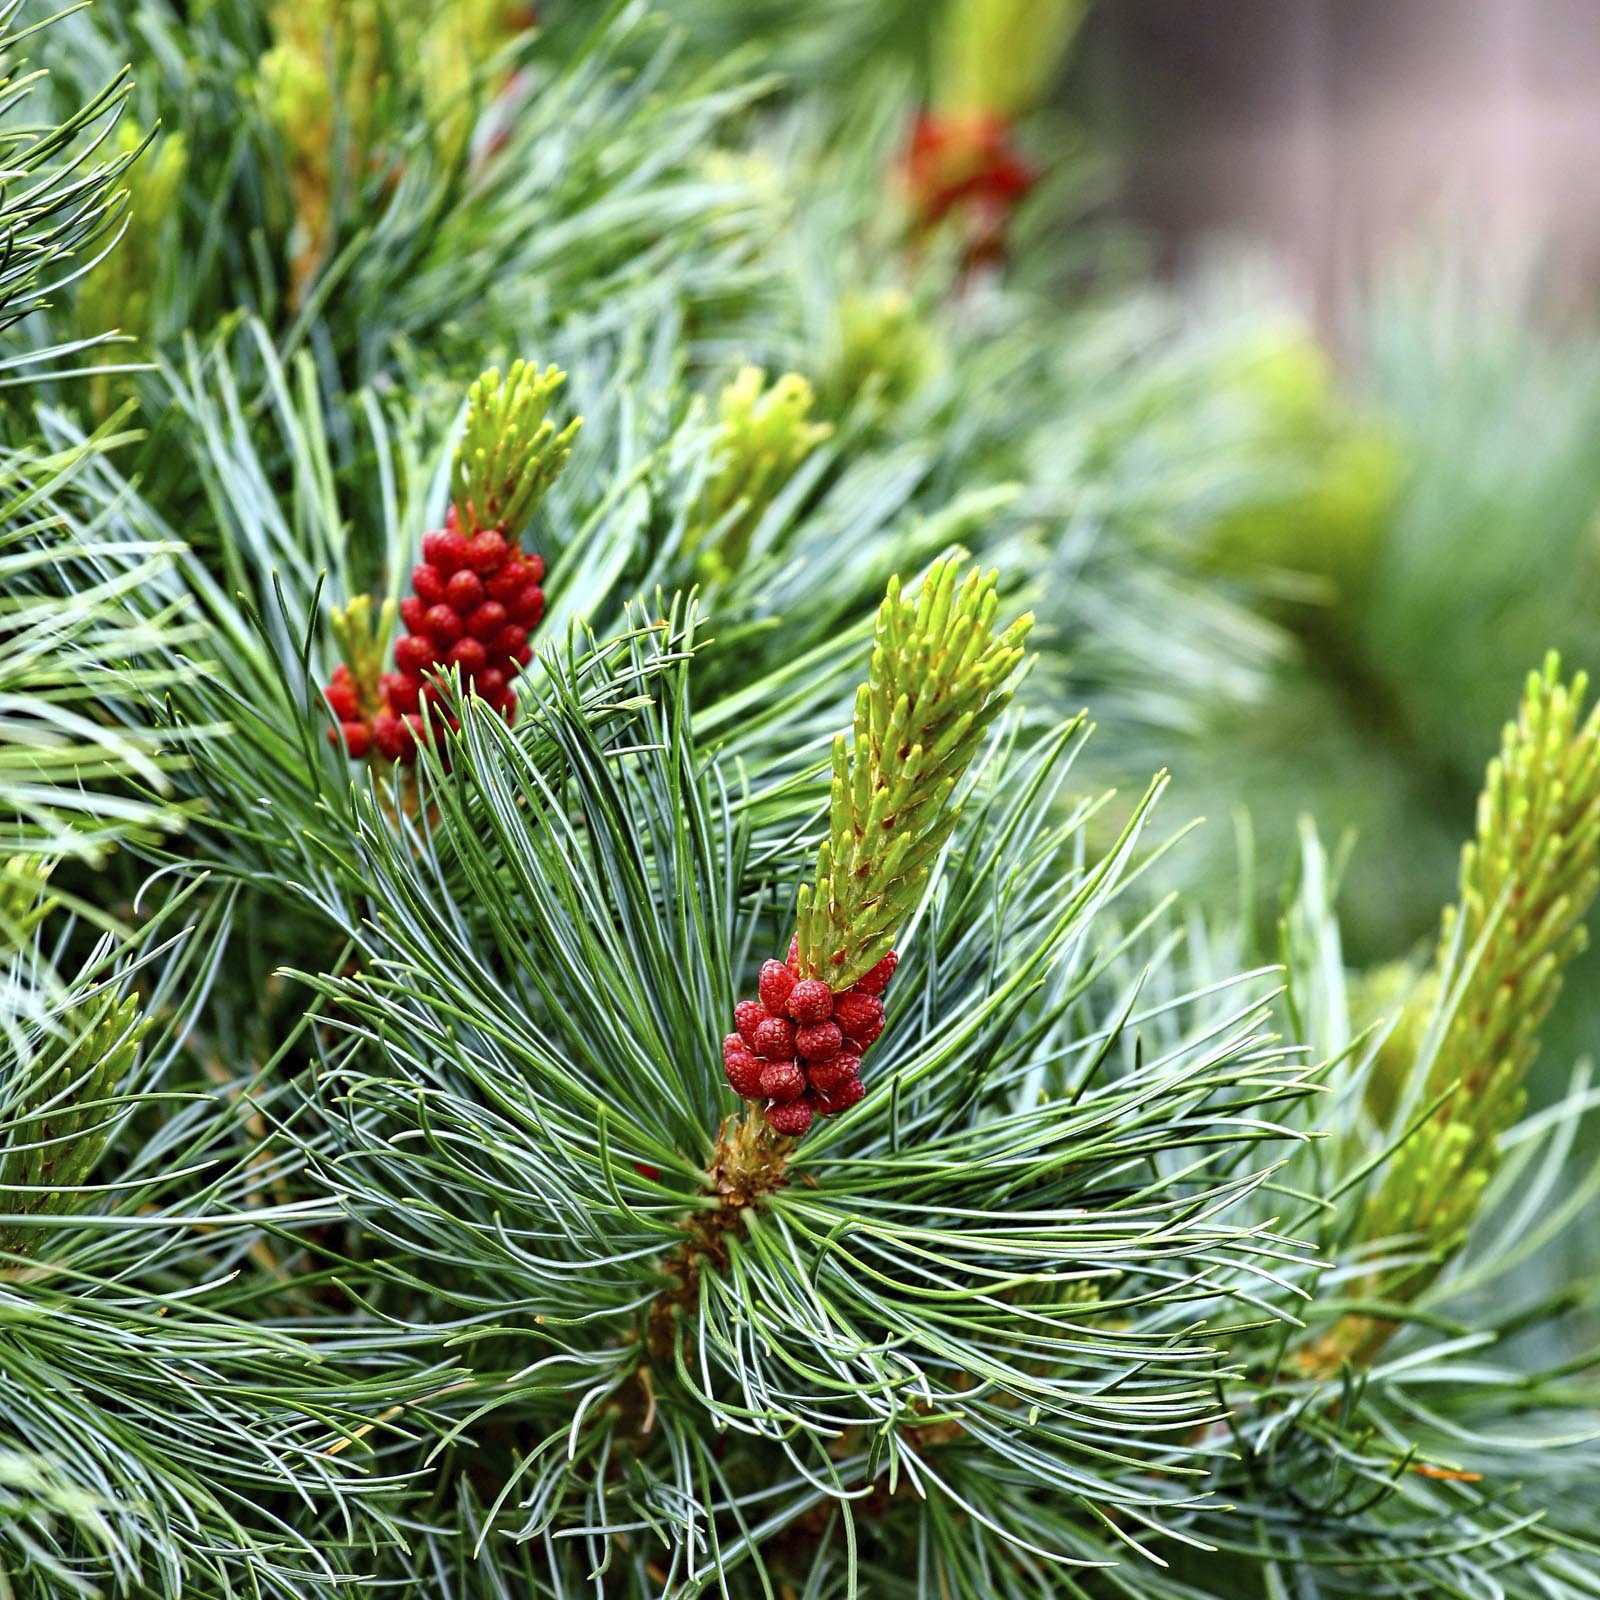
Plants will be part of your rock garden, add them after you’ve designed the rocky spaces, and filling around these rocks with soil. Most plants can be part of a rock garden, however, drought tolerant plant that grow in well-drained, low-fertility soil are the best choices. Flowering bulbs, evergreens and ornamental grasses are popular choices, and you might include mounds of graceful groundcovers or even interesting mosses – depending on the amount of sun you receive. Keeping the chosen plants ultimate size in mind when planning is also essential to a well-designed rock garden. Make sure that the plants with stay in scale with the size garden you have created. Always when selecting plants, consider the light level of your garden as well as the soil quality and moisture levels to be sure the plants will thrive alongside your rocks. - Fill Bare Spaces
Because rocks don’t grow, they won’t gradually get larger to fill in bare spaces in a rock garden. Instead, you can fill in those spaces yourself with additional gravel or pretty pebbles, mulch or smaller ground covers. Leave enough room for any plants in the garden to grow to their mature size, but feel free to fill in the extra spaces with additional color and texture. - Accessorize Your Garden
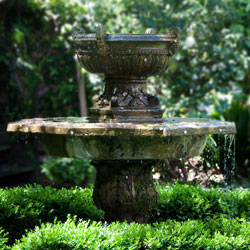
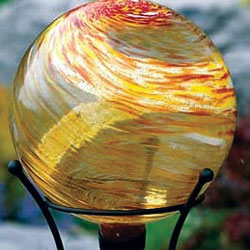
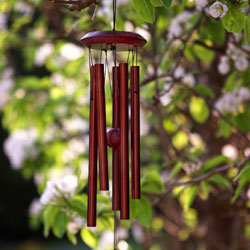
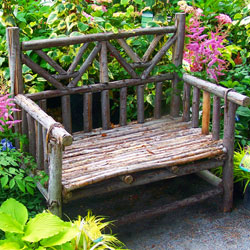
Adding accessories, accents and decorations to your rock garden is a lot of fun, and helps add more color and character to the design. Consider a colorful gazing ball, bird bath, meditation bench, statue, fountain or other interesting element. Containers of flowers can be beautiful additions, or you might want to position solar stakes or other landscape lighting that will show off the drama of your rock garden after the sun goes down.
A rock garden is a fun chance to be creative in your landscape, and it can be a great way to show off your personality in unique and interesting ways. Rock on!