


If you dream of creating beautiful bouquets, arrangements, and wreaths straight from your own flowerbeds, you don’t have to set aside those dreams just because your urban garden may not get as much sunlight as you would wish. Indeed, there are many gorgeous shade-tolerant blooms prefect for your growing space.
About Cut Flowers
Cut flowers are any bloom or bud you might clip from its parent plant for decorative use. It could be a single showy stem in a slim vase or part of an elaborate arrangement, from a bridal bouquet to a table centerpiece to a seasonal wreath. You might wear cut flowers in your hair or create a corsage or boutonniere for a special night or date. You can even weave cut flowers into garlands or other arrangements, bringing floral beauty to all parts of your home.
Top 10 Shade-Tolerant Cut Flowers
Both annuals and perennials can be stunning cut flowers. While many of the most popular, showstopping blooms require full sun, there are beautiful options available whether your garden has just limited sun, part shade, or full shade. When choosing different cultivars, opt for plants that are better adapted to shady conditions so they will thrive in the space you offer.
Some of the best shade-tolerant flowers, perfect for cutting include…
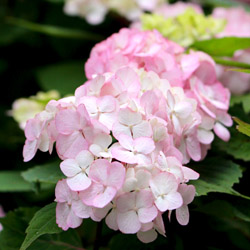
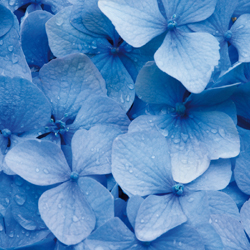
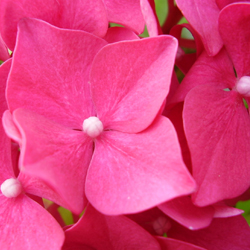
- Hydrangea – This pretty shrub can be pink, blue, or white depending on the soil pH, and its large, round clusters of blossoms can make stunning arrangements or simple bouquets. Hydrangeas particularly love afternoon shade.
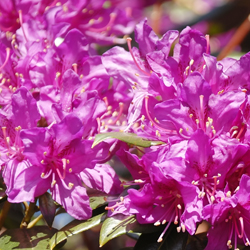
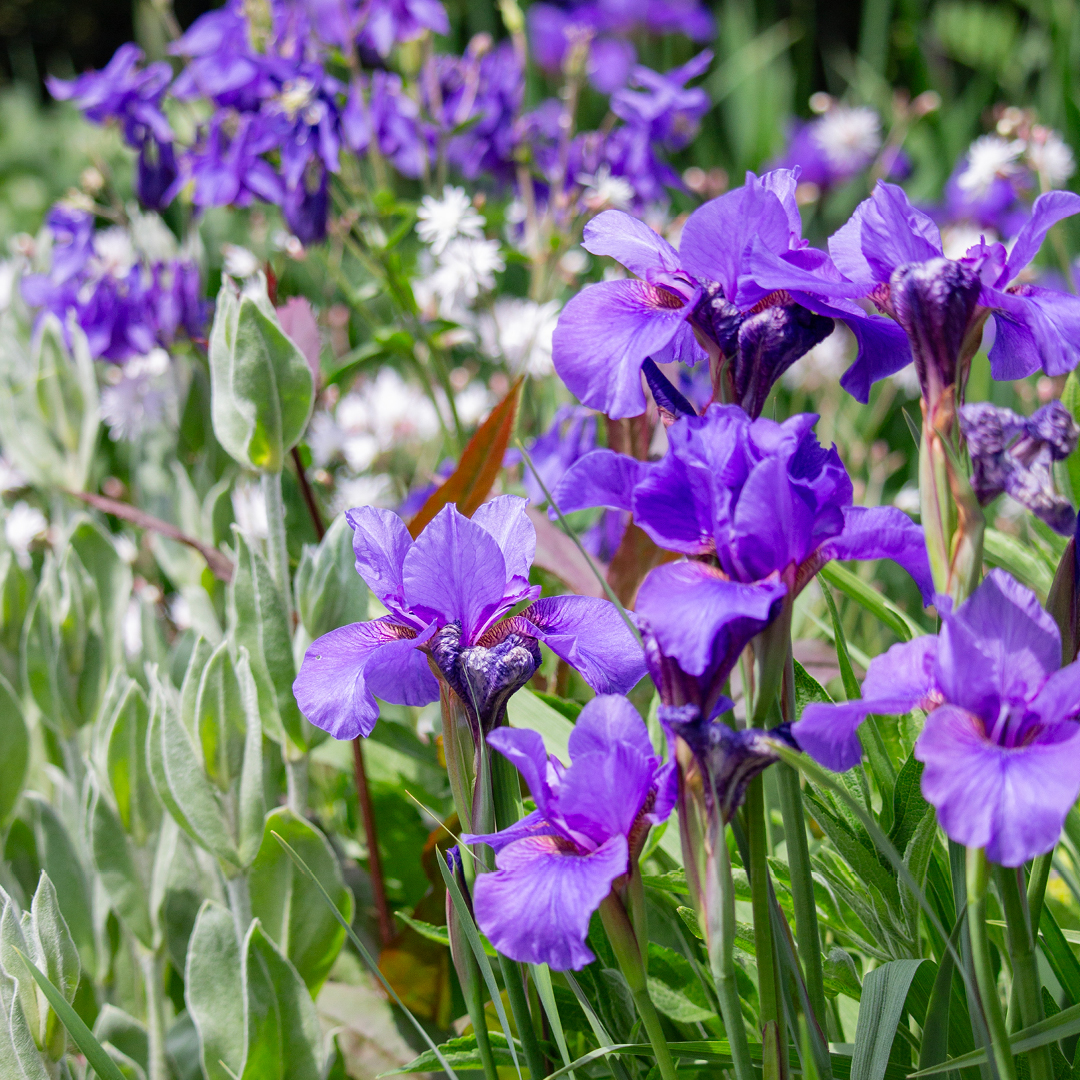
- Siberian Iris – A perennial bulb, this frilly iris comes in a wide range of colors, including stunning shades of purple and magenta, as well as whites and creams. These flowers perform best in dappled or part shade.
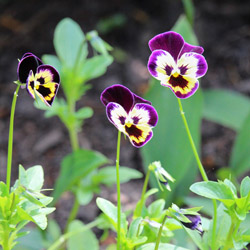
- Viola – Also known as violets or pansies, these annual flowers come in white, blue, yellow, orange, pink, red, and cream shades, often with colorful contrasting accents. Versatile pansies do well in sun or part shade. Although short stemmed, pansies are perfect for small bedside or countertop arrangements.
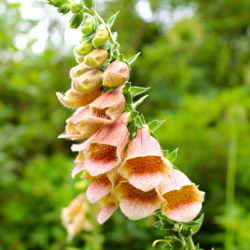
- Foxglove – These perennials make tall, dramatic statement stems with their bold, trumpet shapes and rich colors of pink, purple, apricot, and white. Foxgloves prefer part shade for the best flowering.
- Alyssum – This tiny annual creates a carpet of delicate, white, sweetly scented blooms in full to part shade and can be an ideal accents for smaller arrangements or can be woven into garlands and swags.
- Carnations – Different types of dianthus grow either as annuals or short-lived perennials and do well in light or part shade gardens. These flowers come in a wide range of colors, with either smooth or frilled petals for more textural interest.
- Astilbe – These dramatic perennials have lacy, tapered blooms that add a delicacy to any cut arrangement. Available in shades of white, red, pink, purple, and peach, astilbes do best in part shade conditions, making them perfect for urban gardens.
- Spiderwort – Small but mighty, these perennials have striking color contrasts of deep purple or blue against white or yellow stamens. They grow best in part shade to full shade and will help fill in any challenging space. Their gracefully arching stems add form and movement to floral arrangements.
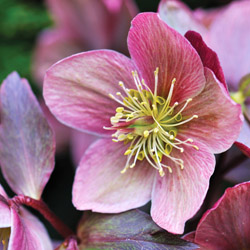
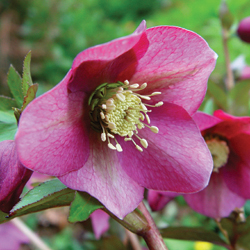
- Hellebore – These very early blooming perennials can offer the first cut flowers from your garden, and they come in a wide range of colors featuring both single and double flowers. Hellebores prefer either part or full shade.
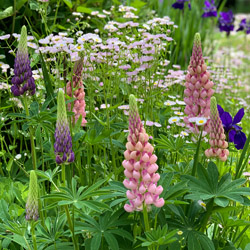
- Lupine – The tall spikes of lupine are dramatic additions to cut flower arrangements, and they come in a wide range of hues from red, yellow, and orange to pinks and purples. These perennials flowers prefer light shade, particularly in the afternoon.
Caring for Cut Flowers
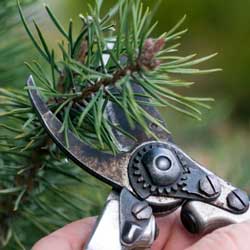
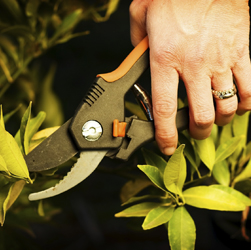
No matter which flowers you choose for an urban cutting garden, you will want to make the most of each bloom. Cut the flowers when they’re at their peak bloom or just shy of fully blooming and use them in arrangements right away. Use clean, sharp tools for the healthiest cuts, and put the cut flowers into a clean vase with fresh water. Also, keep in mind that the addition of floral food will help nourish and prolong the life of your cut blooms. Change the water in the arrangement every other day, trimming the cut ends of each stem each time to help the flowers take up water more easily.
With thoughtfully chosen, shade-tolerant flowers and proper care after cutting, you can enjoy amazing cut flowers from even the shadiest urban garden space.